
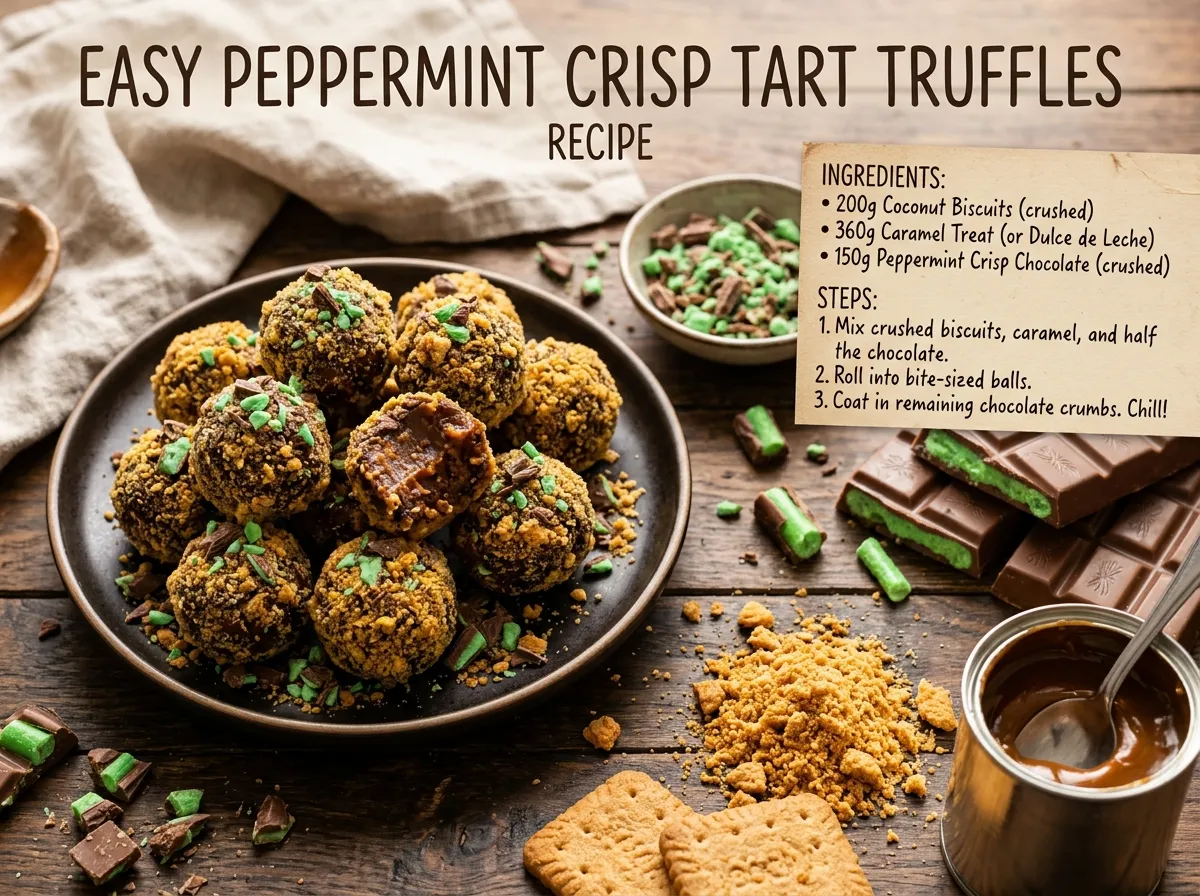
Easy Peppermint Crisp Tart Truffles Recipe
Finding a quick way to transform a classic South African dessert into bite-sized treats is simple with an easy Peppermint Crisp Tart Truffles recipe. By reimagining the iconic combination of caramel and minty chocolate, you create a decadent confection that is perfect for parties or personal indulgence. These truffles capture the nostalgic flavors of the traditional pudding while offering a convenient, handheld format that eliminates the need for slicing.
Whether you are a fan of the original dessert or a newcomer looking for a sweet project, this method ensures a consistent, delicious result every time. Following these steps will help you master the balance of textures and flavors required for these delightful sweets.
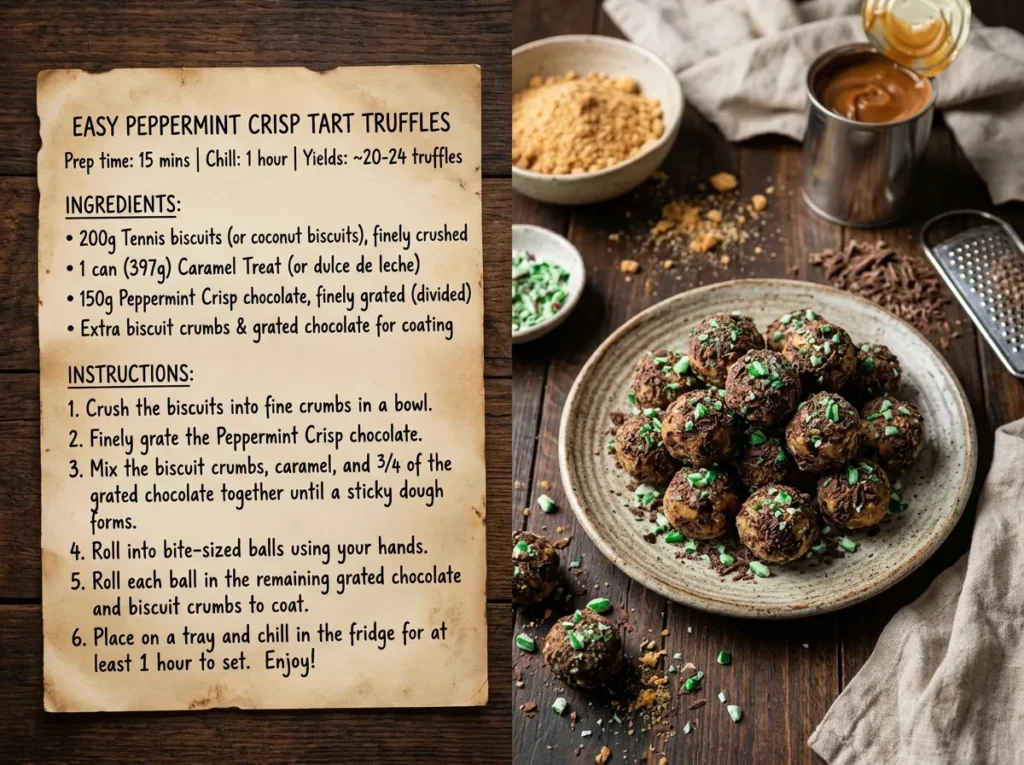
Preparing the Base Ingredients
The foundation of any great truffle lies in the quality of your components. For this specific treat, you need to gather high-quality ingredients that mimic the flavor profile of the traditional dessert.
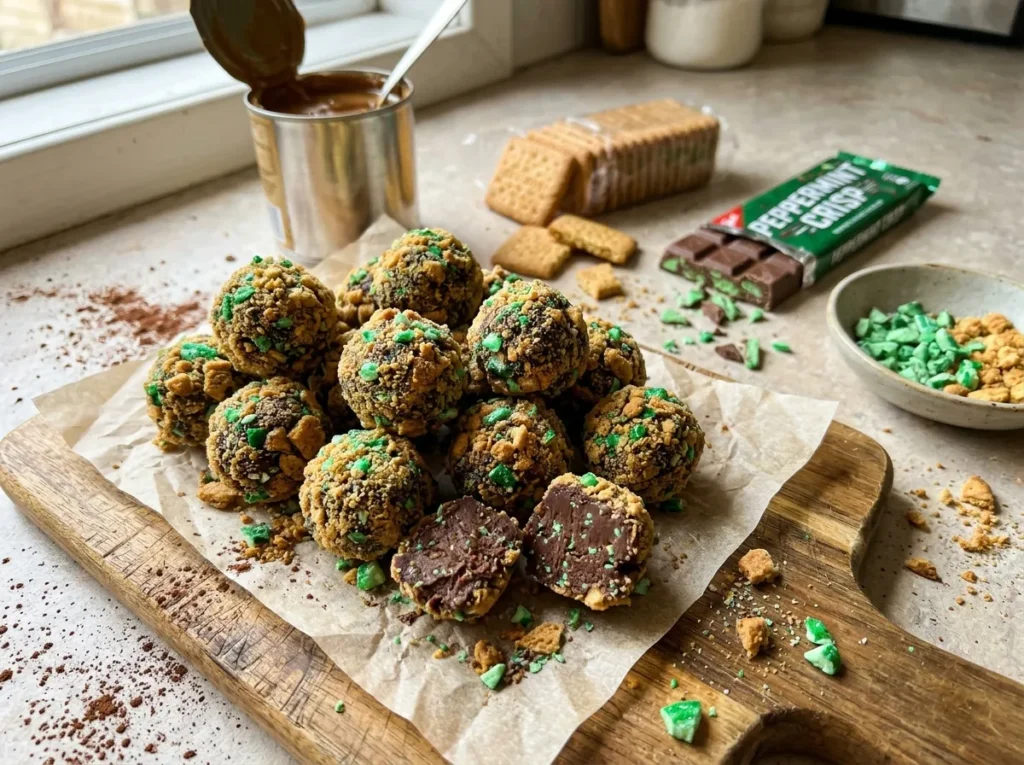
Start by sourcing standard tennis biscuits, which provide a buttery, coconut-infused crunch that acts as the structural base for your truffle centers. You will also need a can of caramel treat, often labeled as dulce de leche, which offers the thick, smooth consistency necessary to bind the mixture together.
When selecting your peppermint crisp bars, aim for the authentic South African variety if possible, as the unique texture of the mint-filled chocolate is essential. The contrast between the soft caramel and the crunchy, sugary bits of the bar is what defines the experience.
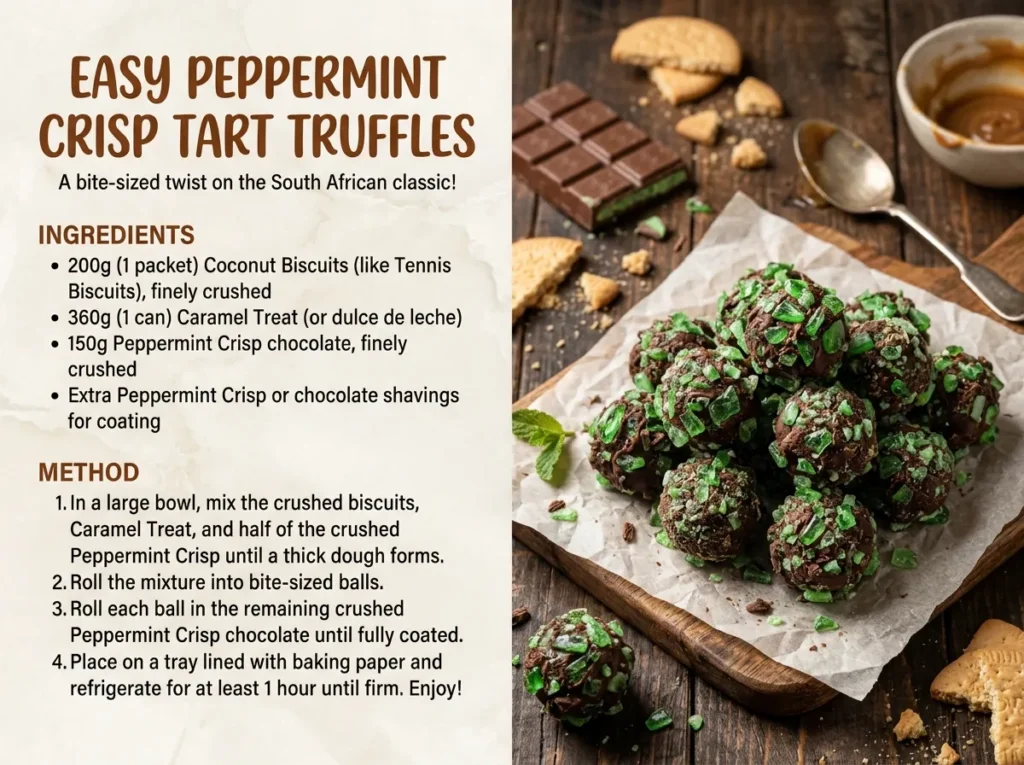
Avoid using generic mint chocolate chips, as they lack the airy, crisp texture that makes the classic bars so iconic. Before you begin mixing, ensure all your ingredients are at room temperature, as this allows the caramel to blend more easily with the crushed biscuit crumbs.
Crushing the Biscuits and Chocolate
Achieving the right texture is critical to ensuring your truffles have a professional finish. Place your tennis biscuits into a food processor or a sturdy plastic bag and pulse or crush them until you reach a fine, sandy consistency.
You want to avoid leaving large, hard chunks, as these can make the truffle centers crumble when you try to shape them later. Consistency in the crumb size ensures a smooth mouthfeel in every bite.
Next, take your peppermint crisp bars and chop them into small, uneven pieces. You can do this by hand with a sharp knife to maintain some of the larger, satisfying shards, or pulse them briefly in a food processor if you prefer a more uniform look.
It is important not to over-blend the chocolate, as you want those distinct, crunchy bits to remain intact within the caramel mixture. If the chocolate becomes too warm during this process, place the pieces in the freezer for ten minutes to firm them up again, which helps prevent them from melting into the caramel prematurely.
Mixing and Binding the Truffle Dough
Once your dry components are ready, it is time to combine them with the caramel to form a pliable dough. In a large mixing bowl, fold the crushed biscuits and the majority of your chopped peppermint crisp bars into the caramel treat.
Use a sturdy spatula to incorporate the ingredients until you have a thick, uniform mixture. If the dough feels too sticky to handle, you can add a small amount of additional crushed biscuit crumbs to adjust the consistency.
A common mistake at this stage is adding too much liquid or failing to chill the mixture properly. If the dough is too soft, it will be impossible to roll into neat spheres. Place your bowl in the fridge for at least thirty minutes to allow the biscuits to absorb some of the moisture from the caramel.
This resting period is vital because it firms up the fats in the mixture, making it much easier to work with. You will know the mixture is ready when it holds its shape firmly when pressed between your fingers.
Shaping and Chilling the Centers
After the mixture has chilled, you are ready to start forming your truffles. Use a small cookie scoop or a tablespoon to portion out even amounts of the mixture, which helps ensure that all your truffles are roughly the same size.
Roll each portion between your palms until you have a smooth, round ball. If the mixture starts to stick to your hands, lightly dust your palms with a tiny bit of powdered sugar or cocoa powder to create a barrier.
Place each shaped truffle onto a tray lined with parchment paper. Once you have formed all the balls, return them to the fridge for another twenty minutes. This secondary chilling step is a secret to success; it ensures the centers are cold and firm before you apply the final chocolate coating.
If the centers are too warm when you dip them into the melted chocolate, they may lose their shape or cause the coating to streak. While they are chilling, you can prepare your dipping chocolate by melting high-quality dark or milk chocolate over a double boiler. You can find more information about proper chocolate melting techniques to ensure a professional-looking glossy finish.
Applying the Finishing Touches
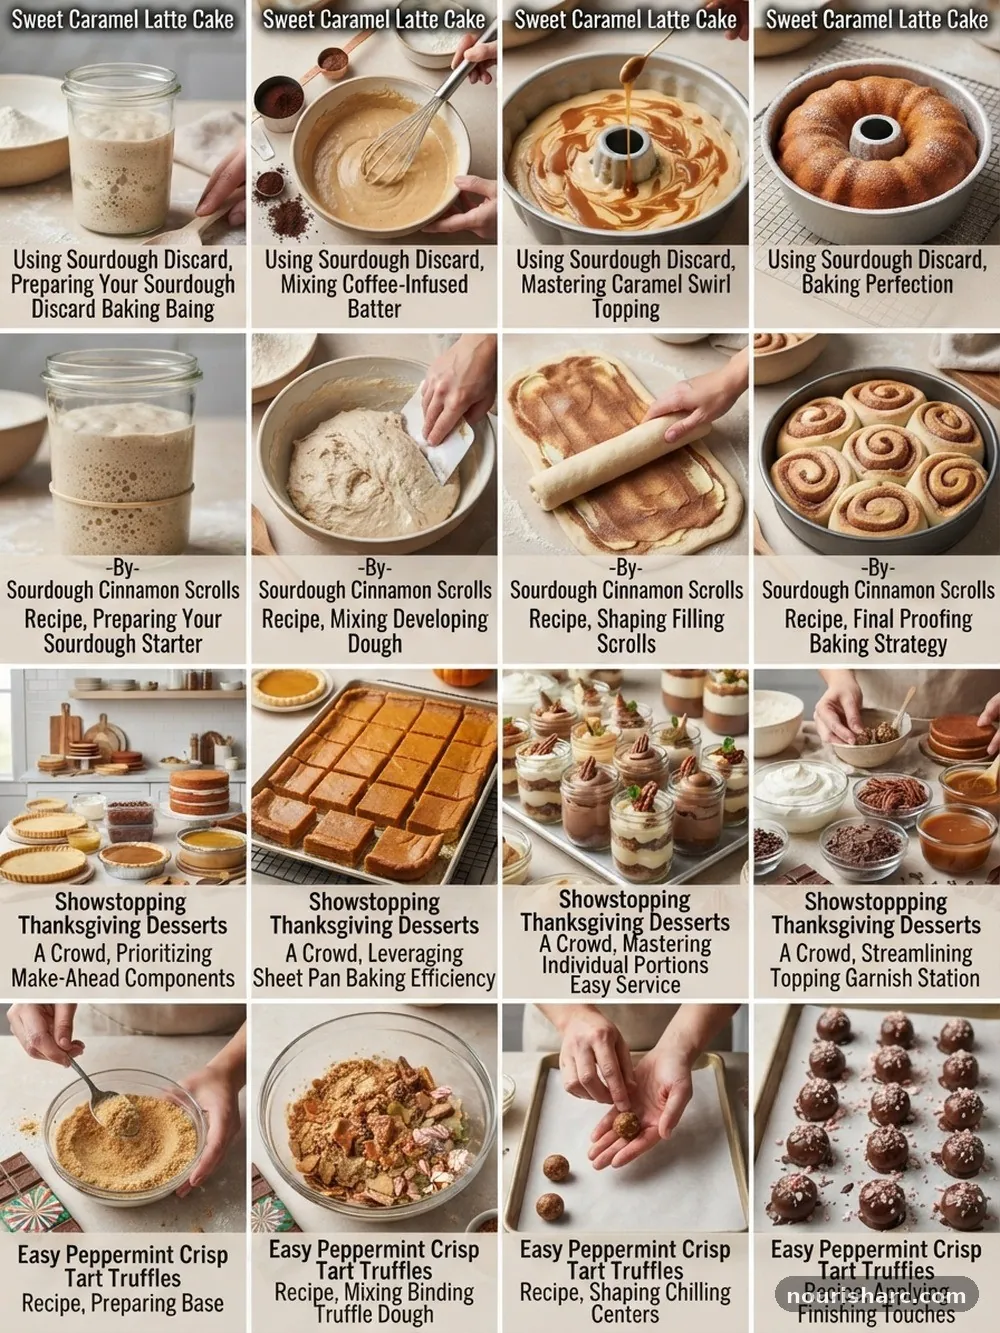
The final stage involves coating your chilled truffles in a smooth layer of chocolate. Use a fork to lower each truffle into the melted chocolate, rolling it gently until it is fully covered.
Lift it out and tap the handle of the fork against the edge of the bowl to let the excess chocolate drip off. This technique prevents the base of your truffle from becoming overly thick and pooling on the parchment paper.
Before the chocolate sets completely, sprinkle the remaining reserved pieces of peppermint crisp over the top of each truffle. This not only adds a beautiful decorative element but also provides an extra crunch that hints at the flavor hidden inside. If you prefer a more refined look, you can drizzle a small amount of contrasting white chocolate over the finished truffles once the main coating has hardened.
Allow them to set in a cool, dry place for at least an hour before serving. Avoid putting them in the freezer to set, as this can cause the chocolate to bloom or lose its shine.
Addressing Common Challenges and Tips
Even with an easy Peppermint Crisp Tart Truffles recipe, minor issues can arise. One frequent problem is the chocolate coating seizing or becoming grainy. This usually happens if even a tiny drop of water gets into the melted chocolate.
Ensure all your bowls and utensils are completely dry before you start the melting process. If your chocolate does seize, you can sometimes rescue it by stirring in a small amount of vegetable oil or shortening to regain a smooth, liquid texture.
Another common mistake is making the truffles too large. While a big truffle sounds appealing, these are very rich and dense because of the caramel and biscuits. Aim for a diameter of about one inch; this size is easier to dip, faster to set, and provides the perfect amount of sweetness without becoming overwhelming.
If you find the flavor too intense, try using a slightly darker chocolate for the coating to balance the sugar content of the caramel and the mint bars. Store your finished truffles in an airtight container in the fridge for up to two weeks, though they are best enjoyed within the first few days while the biscuit crumbs still retain their signature texture.
Frequently Asked Questions
Can I use homemade caramel instead of store-bought caramel treat?
Yes, you can use homemade dulce de leche or a thick, reduced caramel sauce. However, ensure it is very thick and cooled completely before mixing. If your homemade version is too runny, the truffle centers will not hold their shape, so sticking to a commercial caramel treat is often safer for beginners.
What is the best way to store these truffles?
These truffles should be kept in an airtight container in the refrigerator. Because they contain dairy in the form of caramel and chocolate, they stay freshest in a cool environment. If you live in a very warm climate, keeping them in the fridge is essential to prevent the centers from softening.
Can I make these ahead of time for a party?
Absolutely, these are excellent for advanced preparation. You can make the centers and store them in the fridge for up to two days before coating them in chocolate. Once coated, they keep well for another week in the refrigerator, making them a stress-free dessert option for any event.
Why did my chocolate coating crack?
Cracking usually occurs if there is a significant temperature difference between the cold truffle center and the hot melted chocolate. Let your centers sit at room temperature for about five minutes before dipping. Additionally, ensure you are using a good quality chocolate with a higher cocoa butter content, as cheaper varieties are more prone to cracking.
Are there variations I can try with this recipe?
You can certainly experiment with the base. Some people enjoy adding a splash of peppermint extract to the caramel mixture for a stronger mint flavor, or rolling the finished truffles in crushed nuts or desiccated coconut for extra texture. Just be careful not to add too much liquid extract, as it can alter the consistency of the truffle dough.
Creating these delightful treats is a rewarding experience that brings a classic flavor profile into a sophisticated, bite-sized format. By focusing on the quality of your ingredients and ensuring the dough reaches the right consistency before shaping, you guarantee a result that feels indulgent and artisanal. The contrast between the creamy caramel and the signature crunch of the mint-filled bars remains the highlight of any easy Peppermint Crisp Tart Truffles recipe.
These sweets are perfect for gifting, sharing at gatherings, or simply keeping on hand for when a craving strikes. As you master these techniques, feel free to experiment with different chocolate coatings or toppings to make the process your own. Enjoy the process of crafting these delicious, bite-sized versions of a beloved dessert, and do not hesitate to share your creations with friends and family.