
Quick No Bake Thanksgiving Dessert Recipes
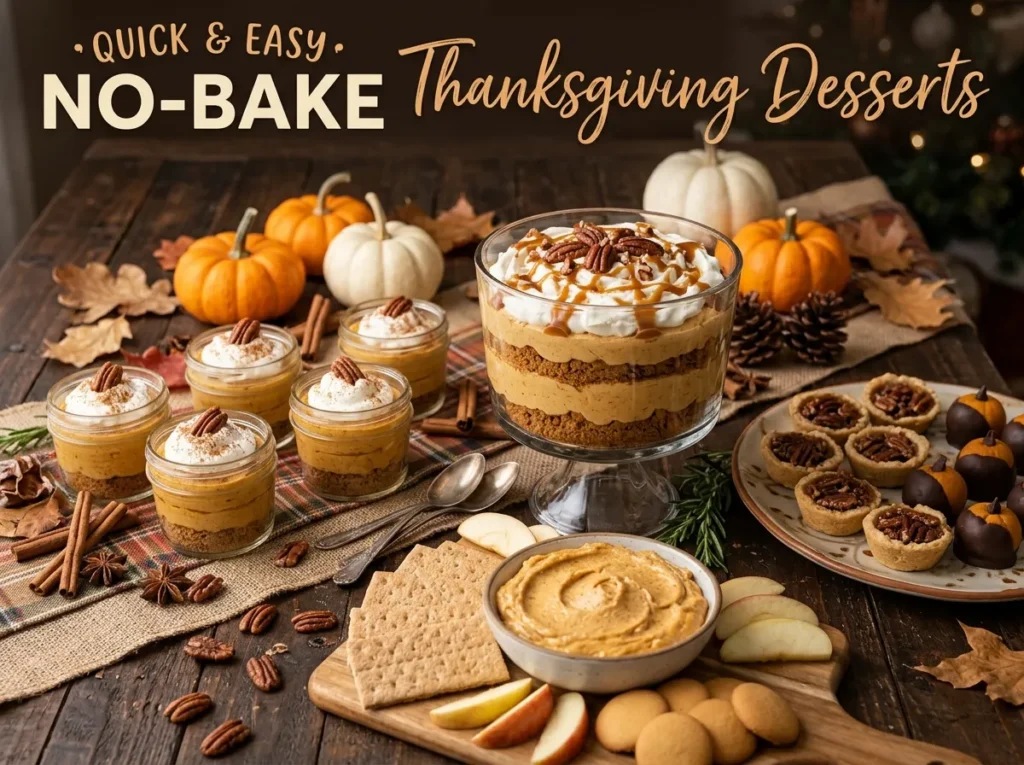
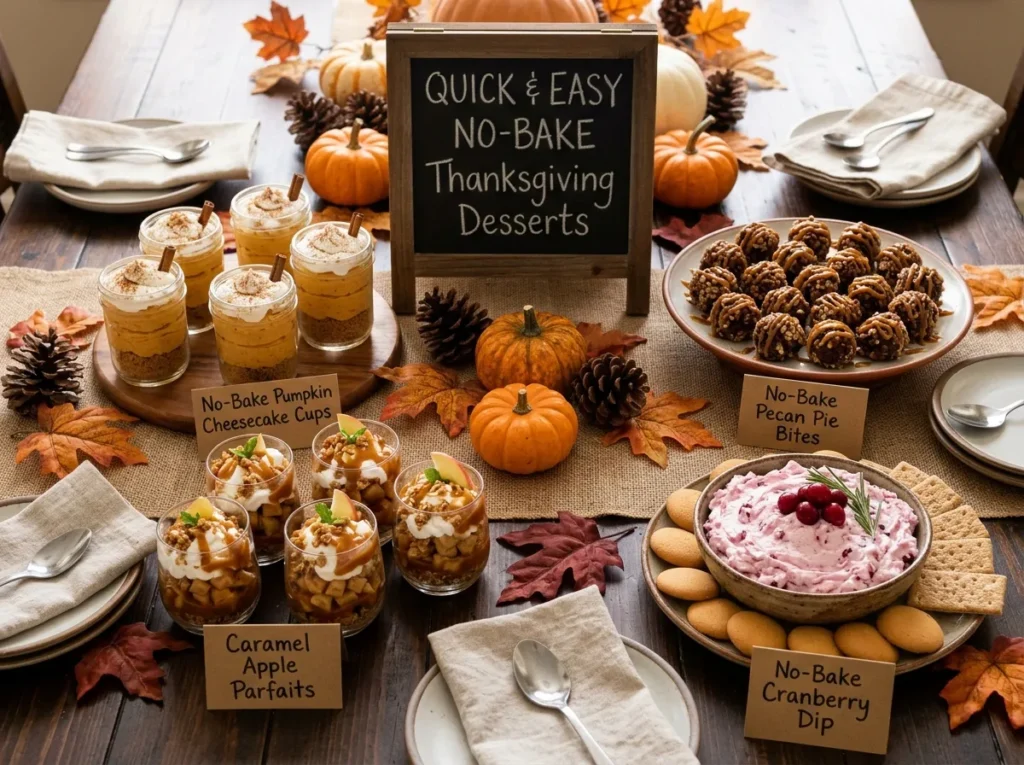
Most holiday hosts juggle at least four side dishes alongside a massive turkey, yet they often forget that the oven is the busiest appliance in the kitchen. Choosing a Thanksgiving dessert that requires zero baking time frees up your oven for hours, ensuring your main course and sides stay at the perfect temperature. You can prepare these quick holiday desserts entirely in a single mixing bowl using simple staples like cream cheese, pumpkin puree, and cinnamon.
By shifting to no bake Thanksgiving desserts, you remove the stress of monitoring timers or dealing with finicky pie crusts. Most of these treats need only 2 hours of refrigeration to set, allowing you to finish your prep long before guests arrive. Focusing on assembly rather than chemistry ensures your Thanksgiving dessert turns out perfect every time. These recipes offer a simple, stress-free path to a beautiful final course that tastes just as festive as a traditional baked pie.
Managing Kitchen Space
Your oven is likely reserved for the turkey and side dishes for six hours straight, so choosing a Thanksgiving dessert that skips the heat is the best way to keep your sanity. Focus on recipes that rely on your refrigerator rather than the oven racks. By preparing your sweets in advance, you clear off your counters for the heavy lifting of roasting and carving. I usually prep my treats two days before the big day, which frees up my mixing bowl and spatula for the actual meal prep.
Avoiding Heat Zones
Keep your cold treats far away from the hot turkey to prevent the texture from breaking down before guests arrive. A delicate no bake Thanksgiving dessert made with cream cheese or whipped topping will soften quickly if placed too close to the warming oven or a hot platter of stuffing. I designate one specific shelf in the refrigerator strictly for these easy Thanksgiving treats so they stay firm until the final course. If your kitchen is small, try to store your desserts in a cooler bag with a fresh ice pack tucked into a corner of the counter where the air is cool and away from the stove.
- Use individual 8-ounce mason jars to serve your sweets so you don’t have to slice anything while guests are waiting.
- Check that your refrigerator temperature is set to exactly 38 degrees Fahrenheit to ensure your treats set properly.
- Place your parfaits on a decorative tray so you can move them to the dining table in one swift motion.
- Keep garnishes like caramel sauce or extra pecans in a separate container and add them right before serving to keep everything looking fresh.
When you plan your last minute Thanksgiving dessert ideas, prioritize items that need at least four hours of chill time. This ensures the graham cracker crust stays crunchy and the pumpkin puree filling holds its shape when you scoop it into glasses. If you need to double your recipe for a crowd, do it in two separate batches to avoid overcrowding your fridge shelves. This simple strategy ensures your holiday feast ends with a perfectly chilled, professional looking treat that didn’t require a single minute of oven time.
Pumpkin Puree Treats
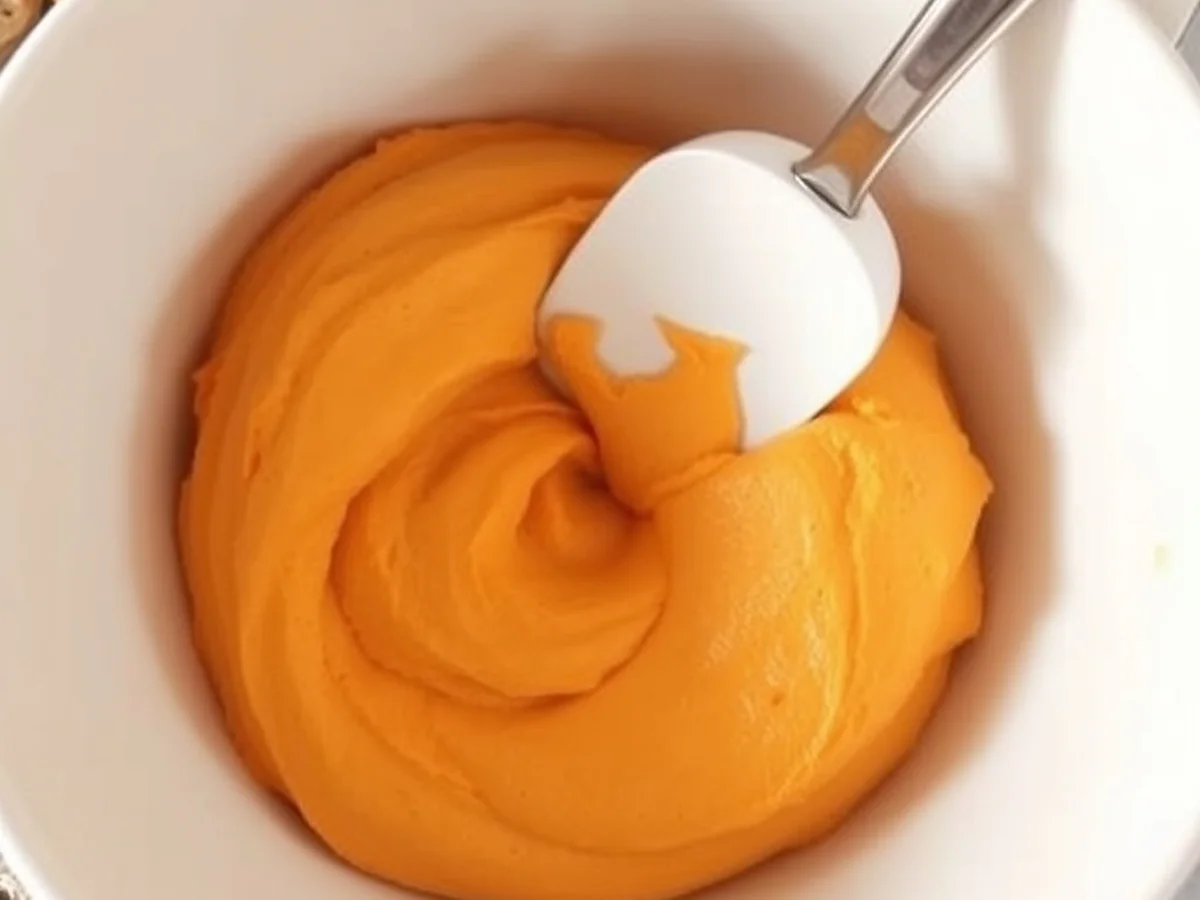
Do you need a fast Thanksgiving dessert that skips the oven entirely? You can whip up a creamy pumpkin mousse by combining 15 ounces of pumpkin puree with 8 ounces of softened cream cheese in a large mixing bowl. Simply use a spatula to fold these ingredients together until the texture is perfectly smooth and airy. This method is a lifesaver when your oven is already crowded with turkey and side dishes.
Source: cooking.nytimes.com
To capture that classic flavor, add a generous tablespoon of autumn spices like cinnamon, ground ginger, and nutmeg to your mixture. These spices give the mousse a warm, nostalgic profile that guests expect during the holiday season. If you want a bit more sweetness, whisk in 3 tablespoons of pure maple syrup. The natural sugar balances the tang of the cream cheese while keeping the recipe simple and beginner friendly.
Presentation makes these no bake pumpkin treats look like you spent all morning in the kitchen. Layer the mousse into small mason jars or clear parfait glasses to show off the vibrant orange color. You can add a thin layer of crushed graham cracker crust at the bottom of each glass for a satisfying crunch. Top every serving with a dollop of whipped topping and a few chopped pecans for added texture contrast.
Follow these tips for the best results:
- Chill your mousse in the refrigerator for at least two hours before serving so it sets properly.
- Drizzle a small amount of caramel sauce over the top right before you bring them to the table.
- Prepare these in individual glass containers to make cleanup quick and easy for a large crowd.
In my experience, guests love these because they are light and refreshing after a heavy meal. You can store these in the back of your fridge for up to 24 hours without the crust losing its snap. By using this simple no bake holiday recipe, you ensure that your dessert table looks polished and professional without the stress of rolling out traditional pie dough. It is the smartest way to manage your time while still delivering a memorable sweet finish to your holiday meal.
Graham Cracker Crust Pies
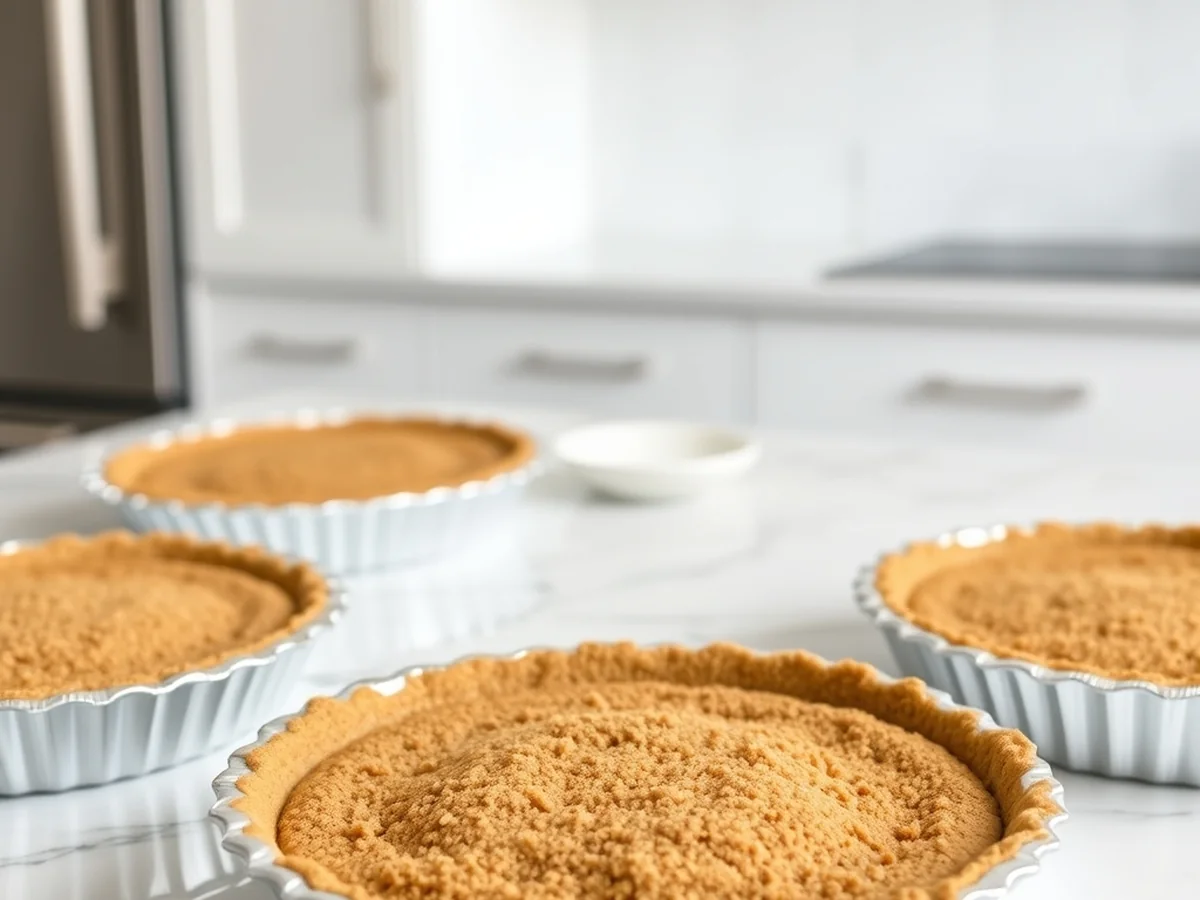
You might think a Thanksgiving dessert requires hours of precise pastry work and oven time, but the reality is that a simple crumb base is often more stable and delicious. A graham cracker crust is the secret to stress-free prep because it sets firmly in the refrigerator without needing a single minute of baking.
Source: foodnetwork.com
To prepare this, mix 1.5 cups of crushed graham crackers with 6 tablespoons of melted butter and a pinch of cinnamon in a large mixing bowl. The texture should resemble wet sand. Use a spatula or the back of a measuring cup to press the crumbs into your pan or individual parfait glasses. Applying firm, even pressure is the key to ensuring the base doesn’t crumble when you slice into your holiday treat. This method saves your oven for the turkey and sides while guaranteeing a crunchy, buttery contrast to creamy fillings like pumpkin puree mixed with cream cheese.
Using a pre-made base is why this is the go-to technique for simple no bake holiday recipes. It allows you to focus on the filling flavors, like adding maple syrup or toasted pecans, rather than worrying about a soggy pastry crust. Once you press the crumbs into place, let the base chill for at least 30 minutes. This hardening process is essential for structural integrity, especially if you plan to top your dessert with a generous dollop of whipped topping.
For an elegant display that looks like it took all day, assemble your ingredients in individual mason jars. This approach makes serving easy and eliminates the need to cut perfect slices while guests are waiting. Since these desserts rely on a solid graham cracker crust, they hold up well for up to 24 hours in the fridge before the holiday meal begins. You can even drizzle caramel sauce over the top right before serving to add a glossy, professional finish. This approach turns an ordinary ingredient into a reliable foundation for any easy Thanksgiving treats you want to serve this year.
Apple Dessert Variations
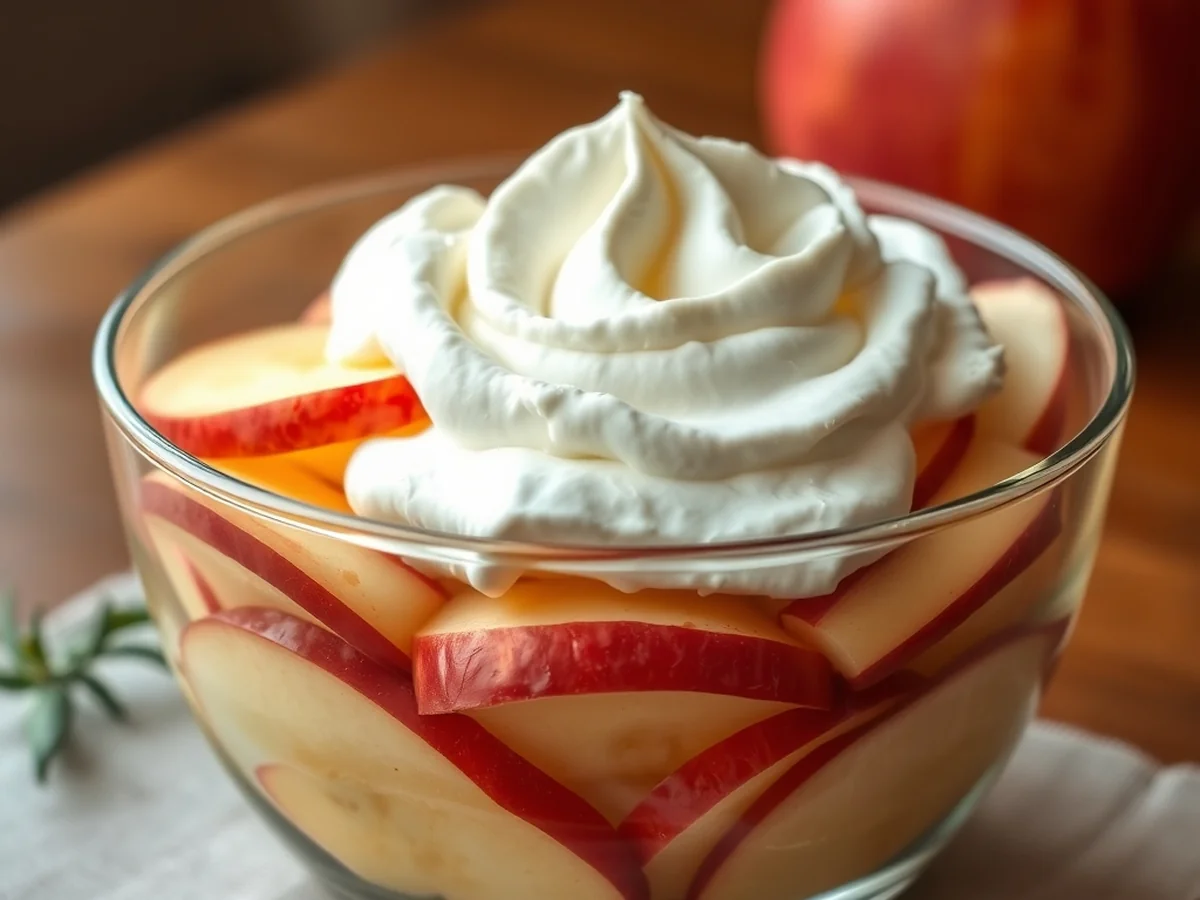
I find that raw apples provide a much-needed crispness after a heavy meal, making them a perfect base for a light Thanksgiving Dessert. You don’t need to turn on your oven to get those classic autumn flavors on your table. Sliced apples hold their shape well when combined with creamy elements, and they offer a satisfying crunch that soft puddings often lack.
Layering fresh fruit with whipped topping creates a quick parfait that looks stunning in clear glass vessels. Start by dicing two large Honeycrisp apples into half-inch cubes. Toss them in a mixing bowl with a pinch of cinnamon to enhance their natural sweetness. Grab small parfait glasses and add a spoonful of the apple mixture to the bottom. Cover this with a thick layer of whipped topping and repeat the process until the glass is full. This method is a total time-saver because you can assemble these up to two hours before guests arrive without the fruit losing its structural integrity.
Adding maple syrup and pecans provides a deep, woody flavor profile that mimics traditional baked goods. After you layer your apple and cream base, drizzle exactly one teaspoon of pure maple syrup over the top of each serving. Sprinkle a tablespoon of crushed roasted pecans over the syrup to add a rich, buttery texture. The contrast between the cold whipped topping, the crisp apple, and the toasted nut topping makes for a high-end experience.
- Store these assembled treats in the refrigerator for up to four hours to keep the whipped topping firm and the fruit chilled.
- Use mason jars if you need to transport these to a family gathering, as the lids keep everything secure during travel.
- If you find the apples are browning too fast, toss them in a little lemon juice before layering to maintain a bright appearance.
- Consider adding a light drizzle of caramel sauce right before serving to tie all the autumn spices together.
Choosing this simple approach ensures you have a reliable Thanksgiving Dessert ready while your main course occupies the oven. It is a foolproof way to satisfy guests without the stress of managing pastry crusts or precise baking times.
Elegant Individual Servings
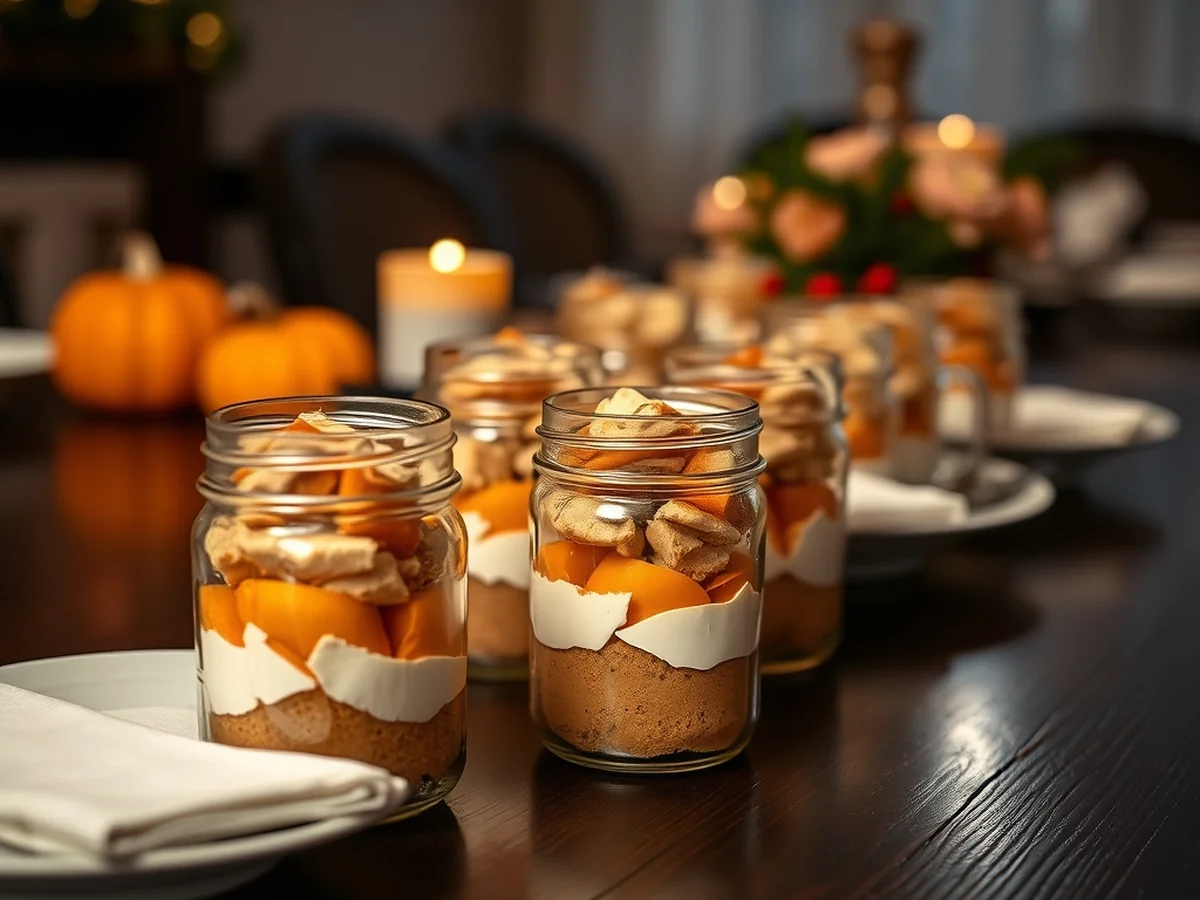
Use clear glass vessels to turn a simple Thanksgiving dessert into a high-end display that frees up your precious oven space. By opting for individual portions, you remove the stress of slicing messy pies while ensuring every guest gets a perfectly plated treat.
You can find 8-ounce mason jars or clear parfait glasses at most discount stores for around $2 each. These containers are ideal because they showcase the distinct layers of your treat. Start your layering process by adding a base of crushed graham cracker crust. Press the crumbs down firmly with the back of a spoon to create a stable foundation that prevents the layers from bleeding into each other.
The secret to a professional look is maintaining clean edges during assembly. Use a piping bag or a sturdy plastic bag with the corner snipped off to add your pumpkin puree and cream cheese mixture. This technique keeps the sides of the glass free from smudges. Follow these steps to build visual interest:
- Add a two-inch layer of cream base to the bottom.
- Spoon in a thin layer of salted caramel sauce or maple syrup.
- Top with a dollop of whipped topping for a light finish.
- Sprinkle toasted pecans or a dash of cinnamon on the very top for texture contrast.
Repeating these layers creates a stunning ombre effect that highlights the warm colors of autumn spices. Since these easy Thanksgiving treats rely on refrigeration to set, they are perfect for making the day before. Keep them covered in the refrigerator for at least four hours before serving to ensure the filling stays firm and the crust remains crisp. If you are worried about the whipped topping losing its shape, wait to add it until thirty minutes before your guests arrive. This simple approach to plating makes a no bake Thanksgiving dessert feel intentional and sophisticated without the technical headache of traditional baking. You will find that these individual jars are much easier to transport if you are hosting the holiday meal at a different location.
Calculating portion sizes
To ensure every guest enjoys a Thanksgiving dessert, plan on serving at least one and a half portions per person. When doubling your recipe, look at the total yield of your original batch and multiply by two, but add a 10 percent buffer for those who might want seconds. I have found that individual servings are much easier to track than one large cake. If you are serving 12 guests, aim for 18 single-serve portions using small mason jars or parfait glasses. This simple math keeps your easy fall desserts for a crowd organized and prevents you from running out of sweets before the coffee is poured.
Choosing mixing bowls
Using a wide, shallow mixing bowl is the best way to combine your ingredients when preparing large batches. A bowl with at least a 6-quart capacity provides enough room to fold in delicate items like whipped topping without deflating the mixture. When you have more surface area, you can use a large silicone spatula to reach the bottom and sides quickly. This prevents pockets of dry cinnamon or thick pumpkin puree from hiding at the base of your mix.
There are several benefits to choosing the right equipment for your quick holiday desserts:
- Wide bowls allow you to see the texture change as you stir.
- Stainless steel bowls stay cold, which helps keep your cream cheese and whipped topping firm.
- Large bowls reduce the risk of splashing ingredients over the edge while you mix at high speed.
- You can easily incorporate crunchy toppings like chopped pecans or crumbled graham cracker crust without the mixture overflowing.
When you prepare these treats in advance, keep them in the refrigerator until the very last minute. The cool temperature of a metal bowl helps the ingredients set faster, which is a major advantage when you are juggling a busy kitchen. If you find your mixture is too soft after stirring, simply place the entire bowl in the fridge for 20 minutes before portioning. This extra step ensures your layers remain distinct and stable when you plate them for your holiday table.
Storing Thanksgiving Desserts
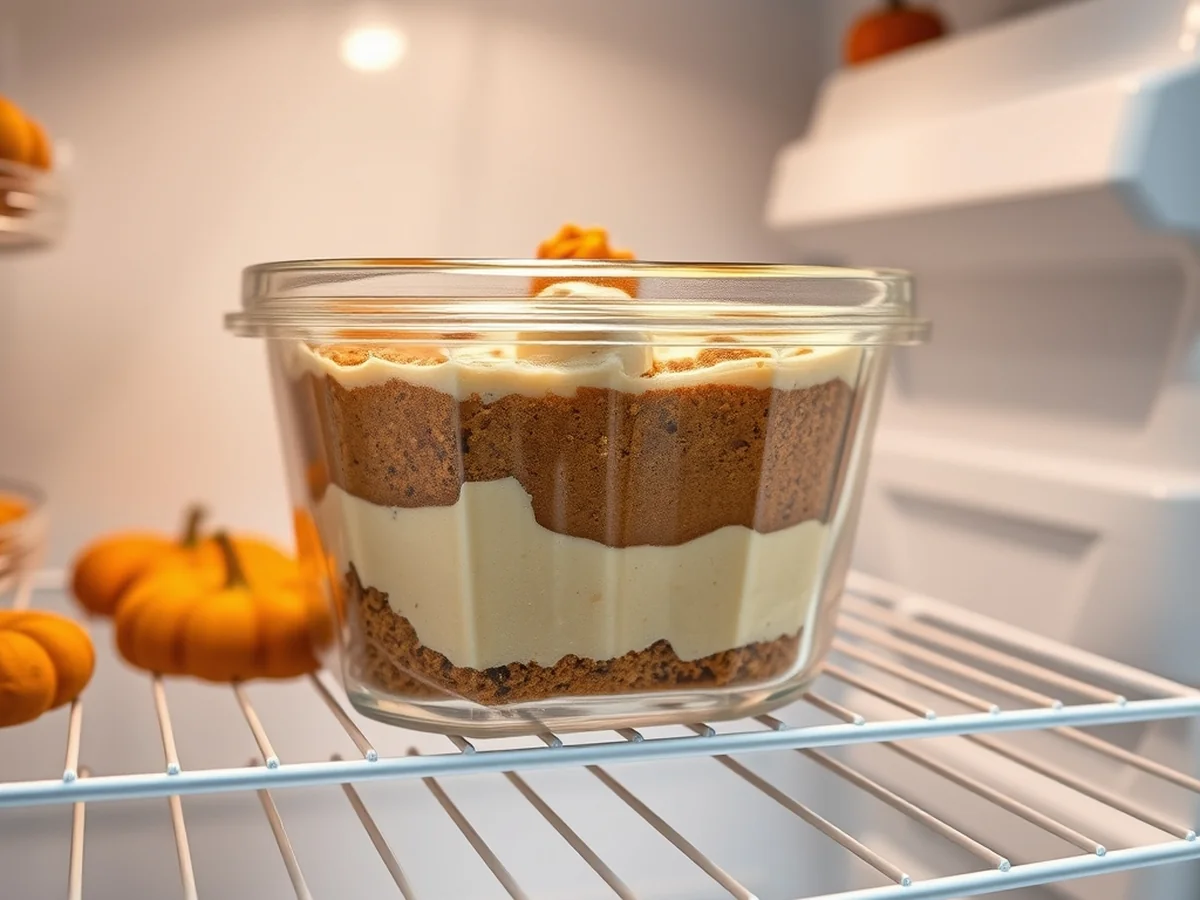
Storing your Thanksgiving dessert in the refrigerator usually costs nothing beyond your normal electricity bill, which is a significant saving compared to running a secondary oven or specialized warming drawer for hours. Proper chilling is the secret to getting a firm set for treats made with ingredients like cream cheese or whipped topping.
Place your mixing bowl or serving containers on the middle shelf of your refrigerator where the air circulation is most consistent. For individual portions, using 8-ounce glass jars helps the contents cool faster than a large, dense cake would. You should aim for at least 4 hours of refrigeration time to ensure your sweets reach the perfect texture. If you are working with a graham cracker crust, the cold air helps the butter solidify again, which prevents the base from crumbling when you slice it.
To keep your easy Thanksgiving treats from softening before guests arrive, keep them away from the refrigerator door. The temperature near the door fluctuates every time someone grabs a drink or a snack. I have found that keeping these items pushed toward the back wall of the fridge keeps them stable and firm. If you are serving items topped with caramel sauce or maple syrup, add those garnishes right before you walk to the table. These liquids can sometimes cause delicate toppings to lose their shape if they sit too long in a humid fridge environment.
If you are worried about smells from the turkey or savory sides affecting your sweet dishes, cover your containers tightly with plastic wrap. You can also use a reusable silicone lid to create an airtight seal. This simple step protects the delicate notes of cinnamon and autumn spices from absorbing any onion or garlic scents lingering in your fridge. For the best results, keep your no bake Thanksgiving desserts in the coldest part of the unit until the very last minute. This ensures that every bite remains crisp and refreshing for your guests, even if the room temperature starts to climb as your home fills with people.
Pantry Staples
You can shave 45 minutes off your holiday prep by keeping a dedicated stash of ingredients for your Thanksgiving dessert needs. Having these items on hand means you don’t have to scramble through crowded grocery aisles when the turkey is already in the oven.
Caramel and Spices
Keeping a jar of high quality caramel sauce and a fresh tin of ground cinnamon ready to go turns plain ingredients into a showstopper. I always keep at least one 12-ounce bottle of thick sauce in the pantry because it adds an instant luxury feel to any no-bake treat. A quick drizzle over whipped topping or apple slices provides that necessary sweetness and texture contrast guests love. If you find your cinnamon has been in the cupboard for more than 6 months, buy a new container to ensure the flavor is potent enough to cut through the richness of cream cheese.
Shelf Stable Essentials
Stocking up on specific shelf stable items allows you to whip up easy Thanksgiving treats even if your refrigerator is completely full of side dishes. I suggest keeping three boxes of graham cracker crusts tucked away in a cool, dry cabinet. They are the perfect base for no-bake pumpkin mousse or layered parfaits. You should also have two cans of pumpkin puree and a bottle of pure maple syrup within reach. These items don’t expire for months, so they are reliable backups for any last minute Thanksgiving dessert ideas.
If you have extra space, grab a few bags of chopped pecans. Toasting them in a dry pan for 3 minutes before sprinkling them over your dessert adds a professional crunch that makes simple recipes taste homemade and intentional. I have found that keeping these specific pantry staples organized in a single bin makes the entire holiday process much smoother. When you don’t have to hunt for ingredients, you can focus on the plating and presentation of your sweets. This preparation strategy is a lifesaver when you are juggling a busy kitchen and multiple guests.
FAQ
How far in advance can you make these?
You can prep almost any Thanksgiving dessert up to two days before your event. Just store them in the back of your refrigerator, where the temperature stays most consistent, to keep them firm and fresh.
How do you keep these from melting?
The key is to use ingredients like cream cheese or heavy whipped topping that hold their shape well at room temperature. Keep your treats in the fridge until the final moment, and if you use a graham cracker crust, make sure it is fully chilled before adding your fillings.
What are the best serving vessels?
Individual portions look beautiful and help you avoid the stress of slicing. Use 8-ounce mason jars or elegant parfait glasses to showcase the layers of your sweets. These vessels make it simple for guests to grab a treat and keep the presentation clean.
Can you easily double these recipes?
Most of these treats are simple to scale up for a crowd. If you plan to serve ten people, just grab a larger mixing bowl and double the measurements, but always add your autumn spices like cinnamon slowly to ensure the flavor balance stays right.
How do you get a professional look without baking?
Focus on texture contrast to make your dessert stand out. A simple drizzle of caramel sauce or a handful of toasted pecans on top creates a high-end finish. Using a clean spatula to smooth your layers is the best way to present a polished, bakery-style result without ever touching an oven.
You might also like: Hello world!
Key Takeaways
Do you want to serve a stress-free Thanksgiving dessert that leaves your oven completely free for the turkey?
- Clear your refrigerator shelves early because these treats need at least 4 hours of dedicated cold storage to set properly.
- Build texture contrast by layering silky pumpkin puree with crunchy pecans or a buttery graham cracker crust to keep your palate interested.
- Prioritize simple presentation by serving your sweets in 8-ounce mason jars or clear parfait glasses for an immediate professional look.
- Use high-quality staples like real maple syrup and fresh autumn spices to ensure your no-bake Thanksgiving dessert tastes rich and homemade.
- Make batches ahead of time to reduce your holiday workload, as these easy Thanksgiving treats stay fresh for up to two days when sealed tightly.
Pin this guide to your holiday planning board so you can easily find these quick ideas when you start your shopping.
For another perspective, this detailed piece on Thanksgiving Dessert Recipes – NYT Cooking is worth a read.